Showing posts with label Crafty projects. Show all posts

Thursday, May 2, 2013

Bringing Back the Pinafore


In between some new softie designs and custom orders, I've continued to sew for my girls. Having enjoyed making the Boo! Designs Twirly Skirts recently, I purchased the Design your own Pinny pattern. It was a little step-up in terms of complexity from the skirts; some top stitching, the addition of interfacing and exact pinning and stitching of the straps, but not difficult to handle. Once again, the instructions were clear with lots of pictures and as someone who still considers themselves a beginner, I appreciate the basics being explained well.

I fell in love with the fabric (from Spotlight) a couple of months ago and I'm glad I didn't waste it on a skirt and created an (almost) complete outfit with it. Heading into the cooler months addition of a long sleeve top and tights will be perfect. Thankfully I do have some fabric left which might stretch to a skirt with a coordinating trim for Miss H.

Cute little bow addition in the centre bodice
 
Check out my top stitching!! Neatie neat!
 
Nearly five hours later but ready for the hem.


Does it pass the twirling test?


Yep! Officially passed


Tuesday, April 30, 2013

Needle Books

Hi! Long time, no see. Sorry about that but I've been spending a lot of time in my craft room completing orders, playing around with new patterns and watching episodes of Grand Designs and The Great British Sewing Bee. I have, however, been taking photos of my newest creations which I plan to share over the next few days.

What are your thoughts on needle books? daggy? old fashioned? I think not, and after making this one a couple of months ago, I refuse to stick a needle in a pin cushion or tin again! So I recently decided to create my own couple of designs. The structure is relatively simple, an outside cover featuring a design and a felt sheet in the centre to secure your needles and pins. I am enjoying designing the covers and, of course, I love hand stitching. They also add a decorative touch to a craft space.

The babushka and owl designs are both available in my madeit store and the chook was a custom order. 


Friday, February 15, 2013

Mushroom Central

There appears to be a small fascination with all things fungi in my craft room at the moment.

I purchased Gnomeville by Michael Miller recently from Modes 4 U, a great online store for gorgeous prints and unique Japanese fabrics. Again I chose to use the brownie goose Nelle pattern and using the 4-5T size, made this little number for Michaela. It is a little shorter than I would have liked (despite adding an extra inch and a half to the pattern suggestion) but as a tunic style dress, it fits well everywhere and will look especially sweet with leggings in the cooler months. I also love that you don't have to make bias tape on the bias for this dress, bonus!


My mind is obviously working over time at the moment with ideas. The other night I woke with the idea of making a cupcake shaped needle book. The idea came out of nowhere and kept me awake thinking about a design, materials and practicalities. Yesterday, by coincidence, I found this pattern and tutorial and as you can see, I couldn't resist making myself one.

I'm not sure whether I will have the time to design and make a few cupcake needle books in time for the next Upmarket, but maybe in time for Mothers' Day. Can't believe I'm thinking about May already!


Wednesday, February 13, 2013

A Valentine's Handmade Gift

My husband asked me yesterday whether we were going to do something to celebrate Valentine's Day. "When is Valentine's Day?" was my response. I have never really considered the 14th Feb to be an important occasion mainly because my birthday (9th Feb) closely follows Christmas and is already an expensive and present-filled few weeks. Nevertheless I made a little something to give my husband tomorrow and if you have a spare twenty minutes, have a book reading hubby and a few craft items lying around, you can follow this tutorial and make your own too.

A love-ly bookmark

Materials
  • A piece of linen measuring 2" x 6"
  • A piece of wool felt measuring 2" x 6"
  • Crochet heart (I purchased mine from C Percy Designs)
  • Stamp kit
  • Needle and thread (sewing machine optional)
  1. Cut your felt and linen to the measurements indicated. The felt is to provide some stability to your bookmark. I use a rotary cutter for ease and a neat line.
  2. Using your stamp kit, stamp a word/phrase/love message on your piece of linen. In a previous life I was an Italian teacher hence the 'ti amo'. To ensure that your letters stamp cleanly on to your linen, wipe the ink off from the edge of the stamp pad so that it doesn't transfer to the fabric and put an ugly square around the letter. I used a cotton tip to clean away the ink.
  3. Pin your felt and linen together. Take it to your sewing machine and stitch (or hand stitch) together. I sewed two straight lines around the edges.
  4. Nearly finished. Hand stitched your crocheted heart to the top of your bookmark.


These cute crocheted hearts make a sweet embellishment to many things. Glue them to alligator hair clips, create a mini bunting for a cake or cupcake or attach them to a gift tag or card. I'm thinking of digging out a pair of old dangly earrings and replacing the beads with a pair of these hearts to wear tomorrow as well.

I hope you have a lovely Valentine's Day .


Monday, February 4, 2013

Weekend Projects

The Perth Upmarket is only four weeks away and with a couple of committed to projects, I wanted to finish these this weekend to allow me to focus solely on market prep.

The first project completed was my contribution to the Handmade Cooperative's Pillowcases for Oncology. I used Heather Bailey Lindy Leaf for the main fabric and a bright pink trim for the ruffle. My focus was to create a colourful pillowcase suitable for a girl of any age. This pillowcase, along with many others, will be passed on to the charity, Pillowcases for Oncology, at the end of the month.

This weekend's second project is part of a Facebook showcase with a Circus theme. I used the Retro Mama pattern, changed the embroidered eyes and added a pom pom trim hat. I love the fabric too, perfect for this showcase theme.


Wednesday, January 30, 2013

A Little Fabric Acquisition

$4m quilting fabric! As soon as I saw those words I grabbed my wallet and keys and headed straight to Spotlight. The range wasn't as large as I have seen in the past at their fabric sales but I picked up a handful of fat quarters for some softies and a few metres of pretty florals. These florals will be perfect for the brownie-goose  Nelle pattern I bought recently and the Boo! designs twirly skirt. Now to decide which fabric and pattern to use first.


Tuesday, January 8, 2013

Donate a Doll

A few days ago I lent my support to the Facebook page TSL Dolly Drive 2013. Their goal is to provide 1000 dolls/softies to children around Australia who are currently spending time in hospital. This page quickly gathered support from numerous handmade softie and doll makers as well as people who were keen to take up the craft and make their first cuddly creation.

Image courtesy here
I plan to make two softies. The first will be a doll from a pattern by Revoluzzza. I bought the book, We Make Dolls, several months ago but haven't had a chance to make anything from it so this is the perfect motivation to do so. I also plan to make a boy friendly softie, I'm still deciding between my Spaceboy or perhaps a little ninja.

Do you want to help? Well, it's easy, simply offer your support through the TSL Dolly Drive Facebook page, find a pattern and get sewing. You'll find additional information on their page as well as some patterns to get you started. My advice for making a doll/softie for this drive is:

  1. Consider the boys. Let's ensure there is an even dolly-superhero ratio.
  2. If you are making a softie intended for a young child, remove all potential choking hazards including buttons and small felt/fabric pieces that may come loose. Use fabric that can be surface cleaned with ease and won't shed (ie fur)
  3. Double stitch all seams for strength and durability.
  4. Perhaps include a little note with your softie telling the recipient a little bit about their new friend.
If you are keen to make a dolly, here are a few of my favourite free online patterns to use:

  1. Ruby Doll courtesy of One Red Robin
  2. A Gingermelon Doll
  3. A Black Apple Doll
  4. A simple Matryoshka Doll by Snipsnaphappy
And for the boys:
  1. Superhero doll from Shwin&Shwin 
  2. Pirate doll from One More Mushroom
  3. A Lorax Stuffie from Crafty Kitsune
  4. A friendly monster from Revoluzza
Happy sewing (and stuffing) !

Tuesday, January 1, 2013

Plans for 2013 (and a little reflection)

Firework image source here
As another year comes to a close, the natural instinct to make plans for the year ahead begins to kick in. In terms of little cloud factory, my hobby/business and blog, I have lots of goals and exciting ideas.

In the last six months I have dedicated a lot of time to creating. I've created new patterns, adapted others, honed my sewing skills and been significantly more involved in the handmade market scene. And I've loved all of these things. I've tried to balance family life, Penelope-life and business life as best as I could. Consequently I feel that what was a hobby at the start of 2012 is now a small business.

I learnt a big lesson this year when I took part in one market. I completed an application with the Dept of Commerce in order to trade on that particular day. A routine application to verify that my stall was handmade/craft. I filled out the business name section little cloud factory and had verbal confirmation from the officer that my wares fulfilled the application requirements. A few days later the officer (very kindly) called to inform me that the name little cloud factory was already registered to a couple in another state and due to recent changes to the business name registration board, I could not trade under this name or register it within this state. The name had been registered in October 2011.

I was so upset with this news. Registering my business name had been on my list of things to do but having had an 18 month break between markets and selling on line I naively kept putting it off. I also felt that my business name was so unique that I wouldn't encounter any problems when I did get around to it. I created this blog in June 2010 and began selling at markets later that year. When you do a google search for little cloud factory the first pages are solely linked to blog posts, my Facebook page, etsy and madeit stores so I was confused as to why someone, looking to start their own business, would choose a name that was obviously quite clearly taken. I guess they liked my name so much that they bought it for themselves. You can read the background story to my name here. So, long story short, little cloud factory handmade is now registered! I actually like that handmade is the additional word that I added to allow the registration to occur as it has positive connotations. I'd like to look back on the last few busy months as ones which turned my hobby into a business. I'm looking to continue 'building' my business in 2013; continue participating in markets, designing new softies and other items, learning from others and  maintaining a balance that makes me feel that I'm in control.

I read this article recently about plagiarism and the handmade community. Within the handmade community there have been a few occasions where I have seen copycats; people using another's creative ideas and practices for themselves, using other people's images to promote their 'future' projects and others who specifically use 'for personal use only' patterns and tutorials and sell them through their business. I had a recent experience with someone clearly using a softie of mine as 'inspiration' for their own and promoting it on their business page. Unfortunately there is very little to prevent others from stealing your designs and ideas. Copying someone else's work shows a total disregard for the time, effort and original idea that someone put into their work/product. While you can find inspiration in another person's work, staying uniquely different is important in order to establish a reputable business.

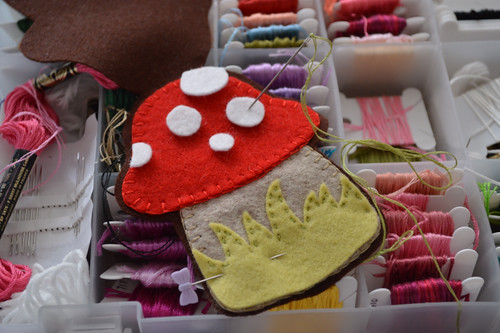
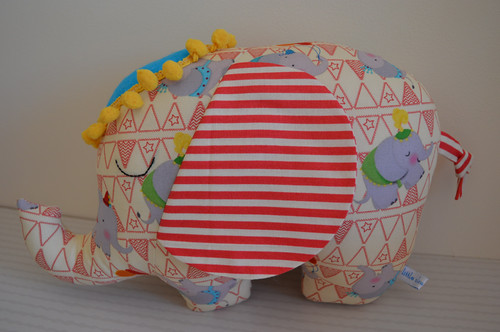
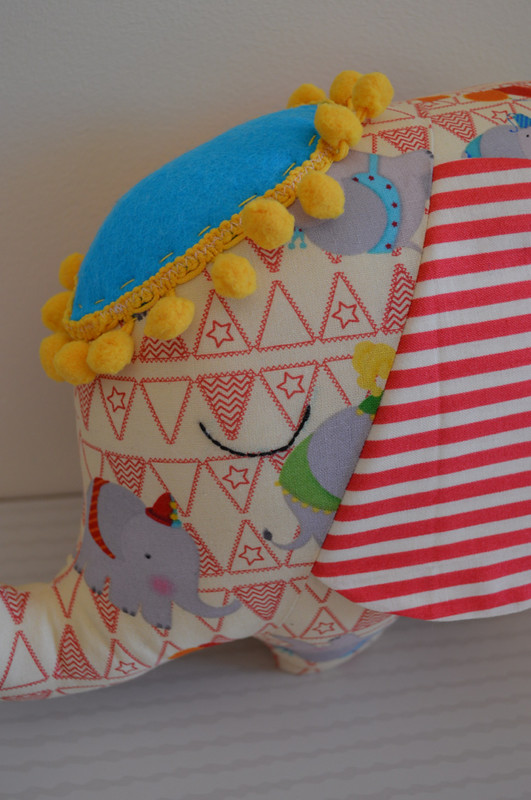
My softie design process begins with lots of drawing and scribblings of various body shapes and facial expressions. Before turning these drawings into a pattern I look through online stores to see if there are other softies similar to my drawings so that a) I don't appear to have copied anyone else and b) my design stands out as unique. By continuing to be unique and honest with my designs I hope that my handmade business is viewed positively and 'ward off' any would-be copycats.

My 2012 resolutions were:
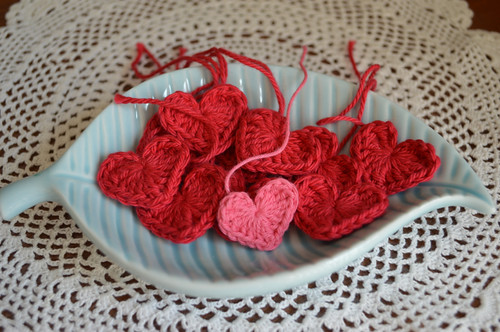
  1. Learn to crochet - did not get to this one at all. I have some wool and crochet sticks in a drawer waiting for another day
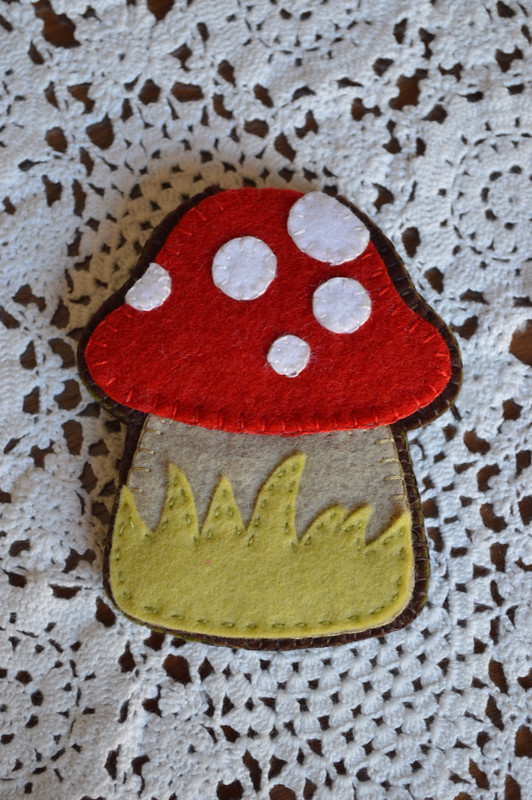
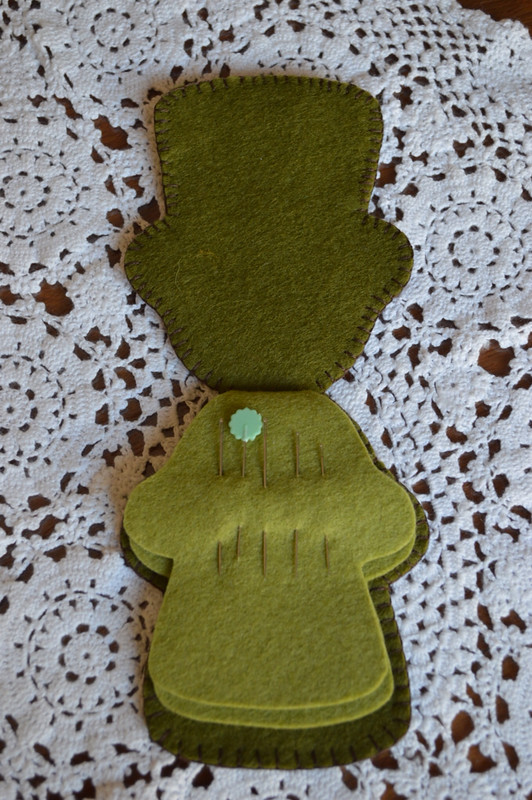
  2. Create new softie patterns - I designed quite a few new patterns this year which forced me to be creative with ideas and new materials.
  3. Participate in a couple of hand made markets- Four markets in four months was a massive effort and absolutely worthwhile for a multitude of reasons. Can't wait to be involved again in 2013.
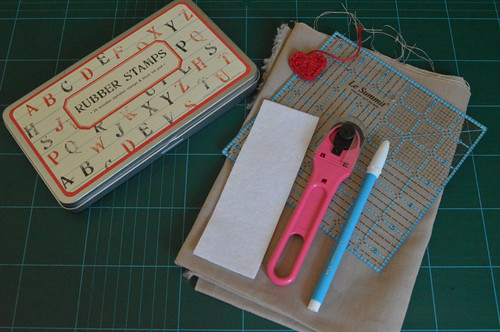
  4. Learn to use Photoshop (and take better photos with my camera!) - Umm, didn't get to this one either but I did purchase an SLR camera and have improved my basic photography skills.
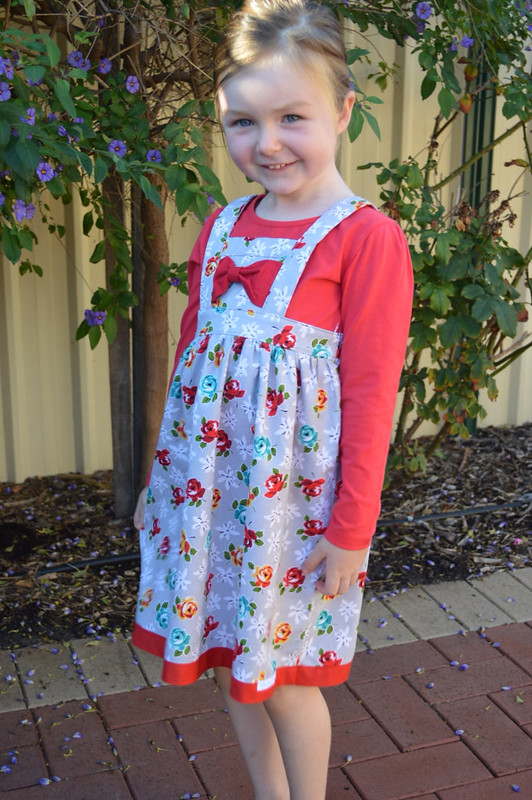
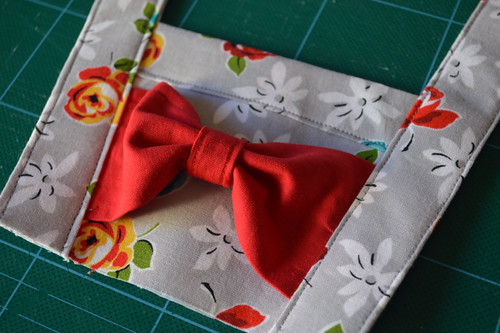
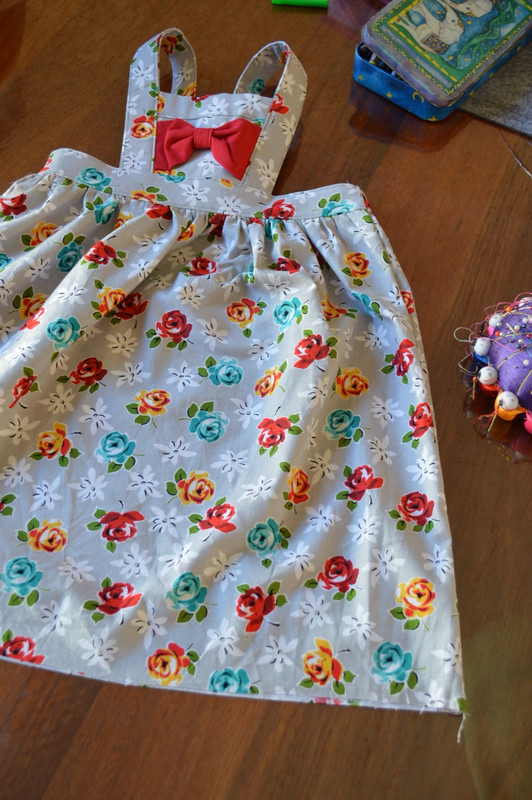
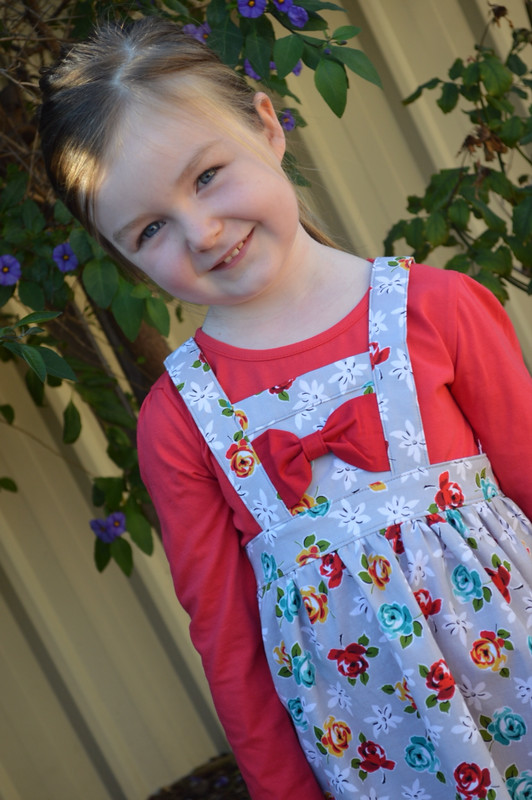
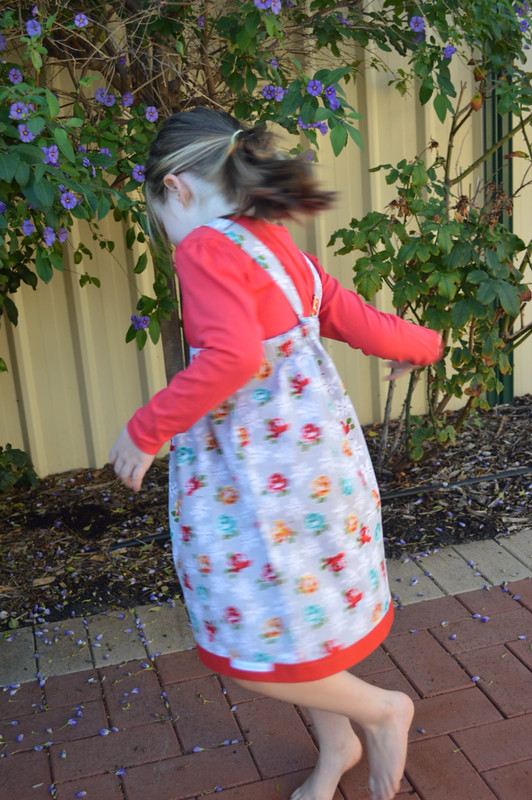
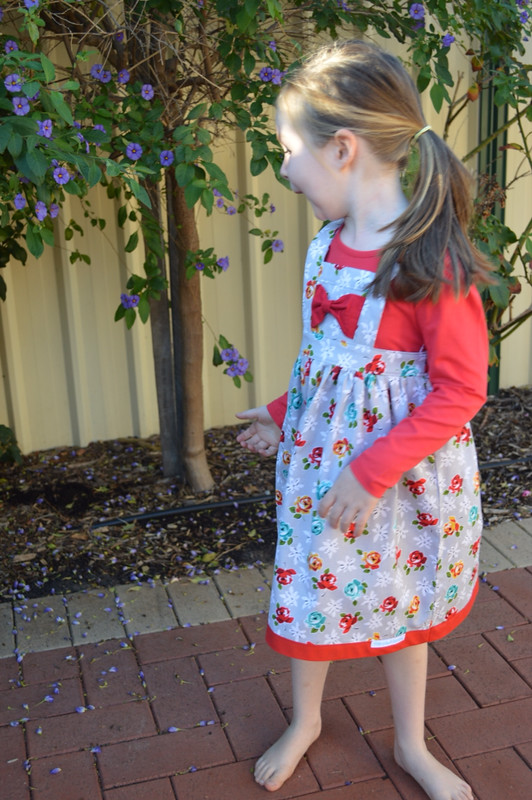
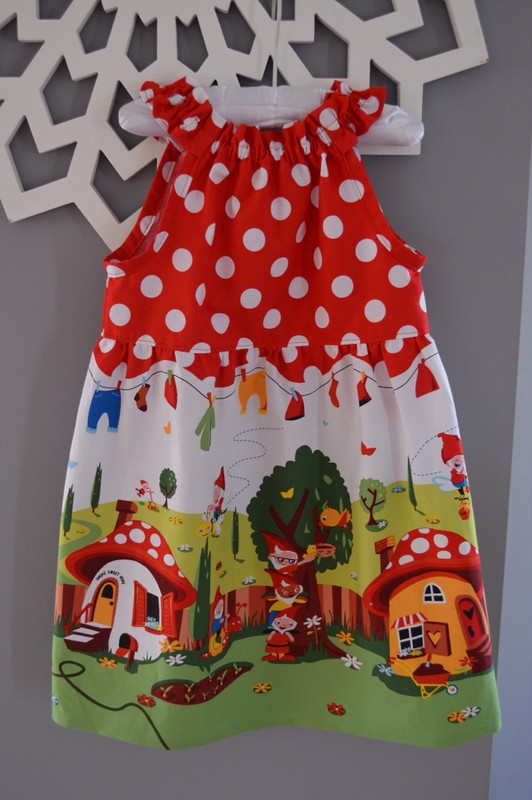
  5. Make more clothes for my girls- Yes, I made a start on this one, I purchased an overlocker and have begun making simple dresses and skirts. I really enjoy making things for them.
And so to the 2013 crafty resolutions:
  1. Create new softie patterns
  2. Take part in handmade markets
  3. Learn to take better photos (do a photography course? photo editing programs?)
  4. Learn to use blogsy better (there are quite a few things that I haven't worked out yet)
  5. Learn free motion machine applique
Thank you for dropping by my blog this past year, I hope I haven't bored you too much! I wish you a truly wonderful, happy and fulfilling 2013.

Penelope x

Sunday, July 1, 2012

My Creative Space Today


Here's my craft room as it is today. Organised chaos of course! I haven't achieved too much this past week on the sewing front but as always there are a few half-done projects. I have begun work on my stall for the upcoming Winter Made on the Left Market. I have collected some cute display items recently and have started work on a felt cloud bunting for the front of my table. I applied for another market this week so I will learn my inclusion (or not) later this month.

I am secretly looking forward to being a Tour de France widow for the next three weeks, he he. Guilt free sewing every night for three weeks while my husband sits glued to the race.

Harper's birthday is next Saturday so I have some baking and decorating ahead this week. Again I have a couple of half-done projects to share once they are completed for her party.

Thanks for dropping by today, enjoy your Sunday xx

Monday, June 25, 2012

Let's Get Stitching

I'm on a bit of an embroidery kick at the moment. I have designed and made a couple of little hoop designs recently and am really happy with them. They make for cutesy wall art and there is no limit to the design and stitches you use. I'm down with the running, chain and satin stitches and french knots but there are more to learn and practice and lots of helpful blog posts out there. I recently came across this post which shows a variety of ways to finish your embroidery hoop off neatly at the back. There are also lots of design tutorials available and here are a few of my favourites.
Ombre Stitching courtesy of Design Sponge
Button Embroidered Hoop
Toadstool House courtesy of Lark Crafts
Mug Rug courtesy of Wild Olive

Wednesday, June 6, 2012

Bunting Theme Party Invitations

As mentioned previously, our gorgeous little Harper is approaching her first birthday. The year has flown by in some ways but she has always been here with us.....you know that feeling? I just finished her birthday party invitations and am thrilled with how they turned out. Some kraft card and some colourful cardstock and ribbon already in my stash. I wrote the poem for the party details and cut out and machine stitched the card stock pieces together. The font on the front is Clementine Sketch while the inside font is Jenna Sue.


The poem reads:
Can you believe a year has passed?
It really has flown by so fast
A year of firsts and lots of fun
And today our beautiful Harper turns one!

Exactly one year to the day
The 7th this year is a Saturday
The venue, our home, you already know
And the party kicks off at 10.30 or so

I look forward to sharing more preparation projects with you as the party draws closer.

Monday, May 28, 2012

Not Quite As Planned

Hope you had a wonderful weekend. Mine was..... well, not quite as planned. One sickly child, another who likes waking before 5am and a thoroughly stupid stuff up on my part meant that I missed out on seeing Mathilda's Market. You'd think that by the age of 34 double checking the time that events start AND finish should come naturally. Nope. I drove all the way to the market venue, drove around for nearly half an hour to find a parking space only to find one which cost $15 flat rate and then found that I was an hour late. Embarrassed and feeling silly. Lesson learnt!

I did finish off a new project, something different and something that ended up taking hours!!!! But I am really happy with the end result. What do you think? This week's plans are dominated with catching up with friends and I have some 'proper' ie paid work starting for a couple of weeks. Hopefully I'll get some creative time at home too.


Monday, May 21, 2012

Apple Brooches


It feels good to be finishing off some new creations. I have had this gorgeous apple kawaii print fabric in my stash for a while and I love how it looks in these felt brooches. I've also just applied for a handmade market, please cross your fingers for me that little cloud factory gets accepted ;)

Friday, May 18, 2012

Half done at The Factory

In my creative space this Friday I have a few half-done projects. True to form I start something only to have a brain wave or change of direction and begin something else. That's just how I work but the plan is to complete four little owl softies, a couple of apple brooches and a felt embroidered hoop by the end of the weekend.


Do you work on a few projects at once? Or can you focus on just one at a time?
What's in your creative space this weekend?

Saturday, May 12, 2012

Get Crafty This Weekend

I hope you have a lovely weekend planned. And if you're a Mummy, there is some scheduled pampering and general fussing over time on the agenda for tomorrow. Being a mother is wonderful, difficult, emotional and everything in between and I am so grateful to my mother for showing me over the last 34 years how to do this job well.

If you are able to squeeze in a few minutes to yourself to be crafty this weekend, here are my picks from my travels around the blogosphere recently. Make a terrarium (indoor gardens are so hip right now!) or jazz up some simple paper lanterns with ribbon for your next party. 


1 Terrarium from Meet me at Mikes
2 A Toddler Scarf (using socks) from Living with Punks
3 Apple design tote bag from Craftstylish
4 Ribbon Lanterns from Martha Stewart

Monday, May 7, 2012

What Did You Do?

How was your weekend? Good, I hope. Did you make something? If you did, please leave me a link, I'd love to see your work.

Here's what I created. I combined two of my favourite things, clouds and felt, and made this birth date wall hanging for Harper's room. Cute eh?
I used the full six strands of embroidery thread (which I wouldn't usually do on softies and other projects) but I wanted it to stand out clearly. Having said that, it would probably look better and neater to be 3/4 strands and perhaps in white. Any suggestions? I would like to make a couple more but try the design on an oval hoop too.


I also spent some time this weekend playing around with bloggy html stuff. Clearly the phrase 'bloggy html stuff' tells you that I have very little idea about the technical side of my blog but as a keen DIYer, I gave it a go. This post from Her New Leaf is simple enough for even me to follow and allowed me to add the social media buttons to my sidebar. The icons are from The Academy and are free. (Found via Lines Across My Face)

Friday, May 4, 2012