A gift for our friends' newest (and cutest) child; hand painted name plaque and softie guitar from this tutorial.
Monday, December 26, 2011
Friday, December 23, 2011
Make It Yourself - Santa Sack
Just a couple more sleeps until the big man in the red suit drops by. Preparations are still in full swing at our house and I can't wait to fall in a heap celebrate our first Christmas as a family of four.
I managed to finish the girls' Santa Sacks just in time. You could honestly make one of these in half an hour but I chose to do some hand stitching which made them take about one and a half hours each. Michaela is well chuffed with hers and despite it being empty!! Here is a little run down if you would like to make one yourself.
Materials for one Santa Sack
The completed sack is approximately 52cms x 70cms
Fabric- 80cm x fabric width (110cm)
Ribbon/ Trim/ Ric Rac- 110cm
Cotton Twill Ribbon - 100cm
3 sheets felt
3mm cord -160cms
Embroidery thread and needle
1 Cut fabric to dresired length (I chose 80cms)
2 Fold down top edge approx 1cm (as per pic below) and iron flat. Fold over again so that the raw is concealed. Stitch in place.
3 Place ric rac on right side of fabric 5 cms from top edge and pin in place. Stitch.
4 Fold over edge of twill ribbon (to prevent fraying) and pin this in place 5 cms below ric rac. Ensure that this ribbon on centred on the fabric. Stitch along top and bottom of ribbon.
5 Now fold the fabric in half, carefully lining up the edges and pin securely. Stitch the side edge (selvedge edges) and bottom to create the sack. The selvedge edges will not fray but I chose to zig zag the raw edge of the bottom seam. Turn right side out.
6 I decided on a simple initial for each of the girls' Santa Sacks. I printed the letters before pinning and cutting them out from the felt. I blanket stitched the red felt letter onto green felt before tracing out a large circle on the green felt and cutting it out. The hand stitching was obviously more time consuming, you can machine stitch the felt initial in place of course and use a fancy machine stitch. The 6 strands of embroidery thread does stand out nicely on the completed sack though ;)
7 Pin the green felt circle in the centre of one side of the sack. Stich in place, again I blanket stitched this but machine is fine.
8 Thread cord through the 'tunnel' created with the twill ribbon. Tie each end with a knot to prevent fraying (I also used some Fraystop)
9 Leave under the Christmas Tree on Christmas Eve for Santa to fill with presents!!
I managed to finish the girls' Santa Sacks just in time. You could honestly make one of these in half an hour but I chose to do some hand stitching which made them take about one and a half hours each. Michaela is well chuffed with hers and despite it being empty!! Here is a little run down if you would like to make one yourself.
Materials for one Santa Sack
The completed sack is approximately 52cms x 70cms
Fabric- 80cm x fabric width (110cm)
Ribbon/ Trim/ Ric Rac- 110cm
Cotton Twill Ribbon - 100cm
3 sheets felt
3mm cord -160cms
Embroidery thread and needle
1 Cut fabric to dresired length (I chose 80cms)
2 Fold down top edge approx 1cm (as per pic below) and iron flat. Fold over again so that the raw is concealed. Stitch in place.
3 Place ric rac on right side of fabric 5 cms from top edge and pin in place. Stitch.
4 Fold over edge of twill ribbon (to prevent fraying) and pin this in place 5 cms below ric rac. Ensure that this ribbon on centred on the fabric. Stitch along top and bottom of ribbon.
5 Now fold the fabric in half, carefully lining up the edges and pin securely. Stitch the side edge (selvedge edges) and bottom to create the sack. The selvedge edges will not fray but I chose to zig zag the raw edge of the bottom seam. Turn right side out.
6 I decided on a simple initial for each of the girls' Santa Sacks. I printed the letters before pinning and cutting them out from the felt. I blanket stitched the red felt letter onto green felt before tracing out a large circle on the green felt and cutting it out. The hand stitching was obviously more time consuming, you can machine stitch the felt initial in place of course and use a fancy machine stitch. The 6 strands of embroidery thread does stand out nicely on the completed sack though ;)
7 Pin the green felt circle in the centre of one side of the sack. Stich in place, again I blanket stitched this but machine is fine.
8 Thread cord through the 'tunnel' created with the twill ribbon. Tie each end with a knot to prevent fraying (I also used some Fraystop)
9 Leave under the Christmas Tree on Christmas Eve for Santa to fill with presents!!
Monday, December 12, 2011
A Little Break
We're off today for a little pre-Christmas getaway down south. Yesterday was spent packing and cleaning the house. Amongst it all I started on Santa Sacks for the girls, here's a sneak peak of how they got started. I'll be sharing the finished sacks and a little tutorial next week. Until then, have a wonderful week!!
Sunday, December 11, 2011
5 months
Harper's fifth month:
- Rolling over from back to tummy- no stopping her now!
- Lots of dribbling, the teeth are on their way
- Plenty of smiles, giggles and baby talk
Saturday, December 10, 2011
Fave Finds
A bit of this, a bit of that....a few things that have caught my eye recently.
![]() |
| Portmans Beaded Panel Print Maxi |
![]() |
| Charlie Brown Scented Candles- available at Myer |
![]() |
| Lovestamp Custom Made Pendant |
Tuesday, December 6, 2011
What's Been Going On
I love Christmas and watching my own children now experience this exciting time is just lovely. Michaela and Santa are not besties yet again this year, she's happy to see him from a distance but within 5 metres and you can expect tears. I don't blame her, all you can see are eyes hidden under a hat and enormous beard and a very ill fitting red suit so if 5 metres is our limit then so be it. The decorations on the tree, the multitude of flashing lights adorning houses and the increase in chocolate around the house have created a lot of excitement this year and the build up to Christmas Day is mentioned daily.
As the years progress, however, I find myself more and more 'grrrr' as we approach Christmas. The increase in people in the shops and the aggressive driving on the roads and the car parks frazzle me. Throw in weddings, Christmas catch ups and wind-ups, stifling heat and I soon crave some quiet days at home. I've turned to online shopping for my last few gifts and we have a week away planned for next week- bliss!!!
We went to Busselton this last weekend to watch my brother-in-law compete in the Ironman. The event was spectacular and I am in awe of everyone who competes in such an event. It was also a 'trial getaway' with the two girls so that next week's little holiday may be a little smoother. (All 4 of us slept in the one room- NEVER AGAIN!! I got a total of 2 hours sleep.......)
Last night we went to see Grinderman perform in Fremantle. Nick Cave, Warren Ellis......awesome musicians and music.
Thursday, December 1, 2011
Michaela's Room
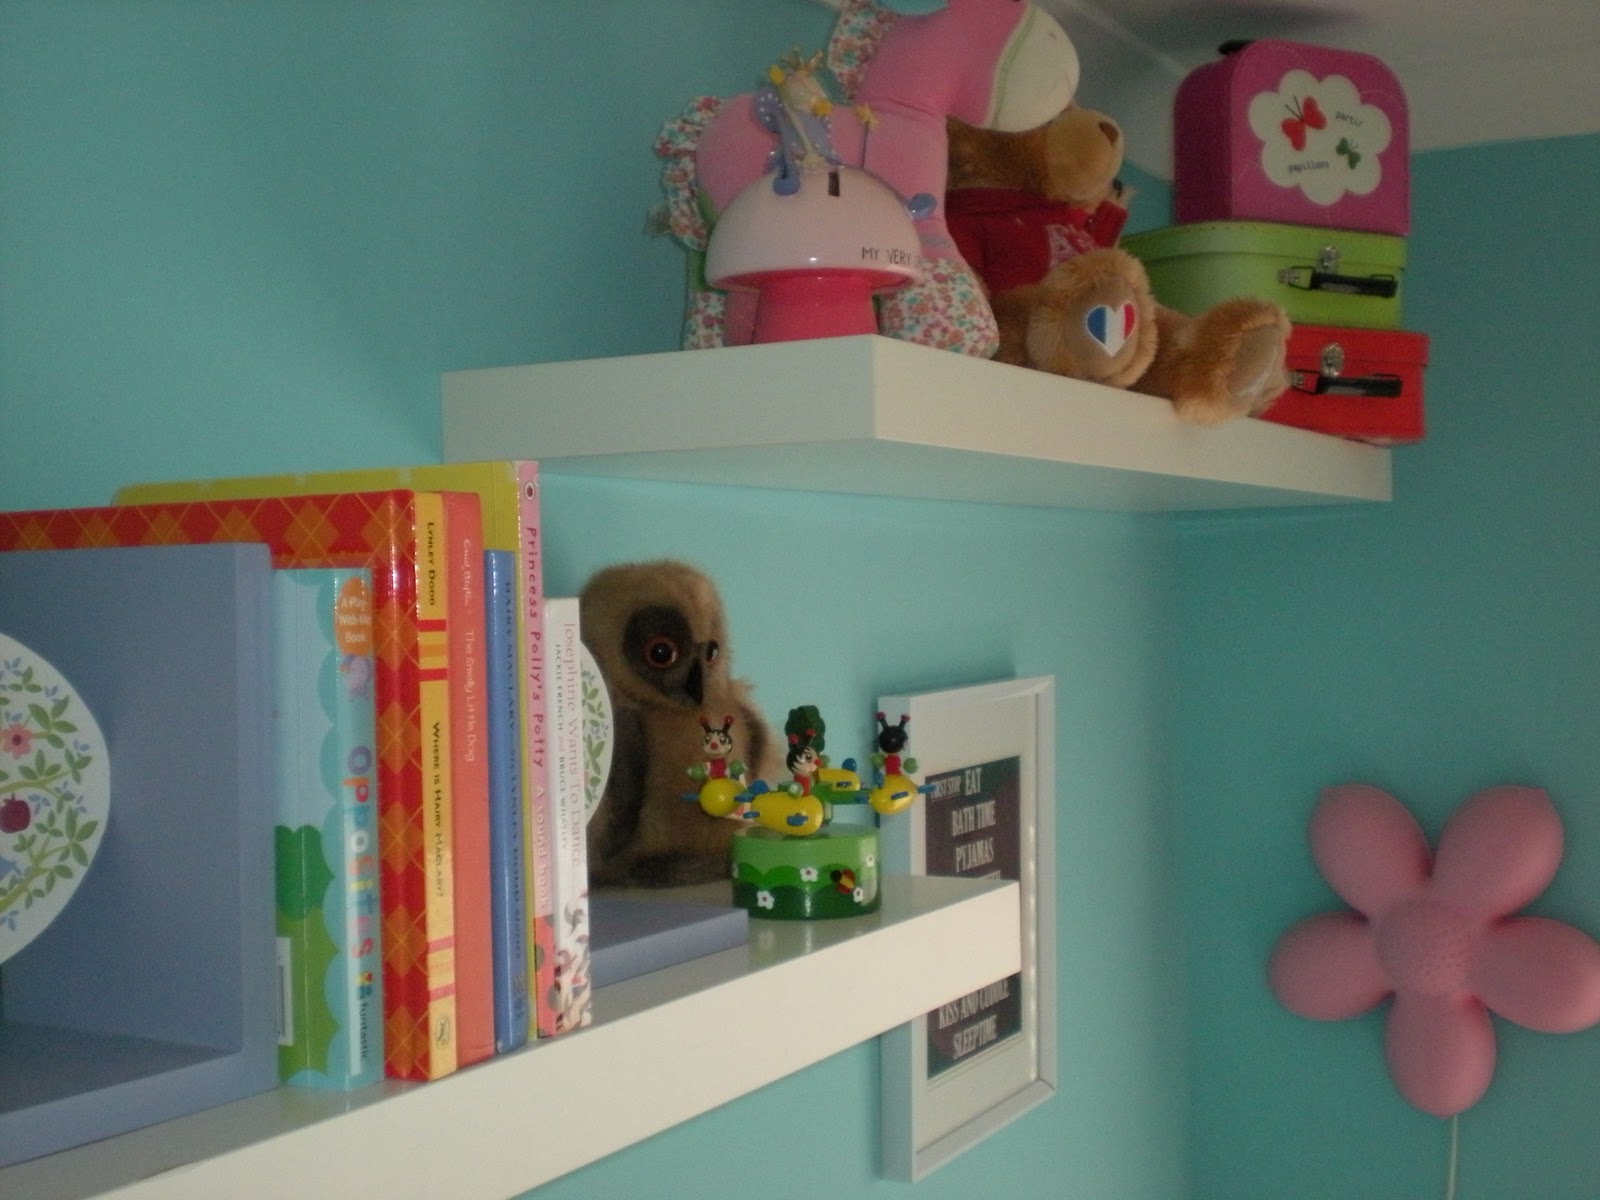
I'm pretty conservative when it comes to colour in my home. Most rooms are quite neutral so when it came to creating a big girl room for Michaela, I threw out all my usual decorating preferences and went a little colour crazy!
Michaela made the transition from cot to bed with ease. I wanted her to move well before the arrival of her sister so that she had plenty of time to settle in to her new surroundings. She was also starting to outgrow her cot- she's on her way to being 6 foot this girl!
For the life of me I can't remember the name of the paint colour but as you can see, it's a turquoise/ aqua. We chose the Ikea Hemnes day bed; a popular choice as it converts to a double bed later on with a roll out trundle and 3 great storage drawers. The Queen Anne chest of drawers was mine when I was a child and the Brentwood chair was a gift from my grandparents when I moved in to this house. I spray painted it a few years ago and it fits in quite nicely here. The quilt cover was purchased about two years ago from Spotlight; I love kokeshi dolls. I then went about collecting brightly coloured accessories.
Picture frames, pink flower wall light and floating shelves - Ikea
Butterfly mirror - Freedom
Wall art- Feed Your Soul art project, babushka wrapping paper, Blue Finch Studios Numbers Print, Kokeshi canvas from The Reject Shop, Clock from Kmart
Book storage - Deals Direct
Retro chair - Baby Bunting
Lanterns - Thingz
Coat rack - from childhood
Bunting - Giggleberry Creations
(See Harper's nursery here)
Subscribe to:
Posts (Atom)