Thursday, September 27, 2012

What I've Learned about Softie Making

Baby Chibi Doll
I made my first softie about three years ago. It was after the birth of my first daughter and when I started to discover blogs. I have always been a little crafty, sewing some of my own clothes while in high school, dabbling in mosaics and jewellery making and did quite a few DIY projects to keep costs down for our wedding. From memory it was the blogs of One Red Robin and Melly & Me that made me think I'd like to give softies a go. I made a Ruby Doll first, then purchased the patterns for the Baby Chibi and Babushka Dolls and I was hooked. Since then I have continued to purchase patterns, design and make my own and have learned a lot along the way.
 
My Kokeshi inspired original design

So if you're keen to make softies too, here's a few things that I hope will help you to get started.
 
  •  Use 100% cotton quilting fabric, it is strong and durable. I widely source my fabrics, mainly online through etsy, Facebook pages and then at my local Spotlight and Textile Traders. Building up a stash of spots/stripes/chevron etc is good to do when there are sales too. I am drawn to many designer fabrics and I don't feel so bad about my fabric addiction when they are on sale! I prefer to purchase fat quarters or half yards to ensure that no two of my softies look the same.
  • Always wash your fabrics before use. These fabrics have been in factories, boxes and on shelves so you want to make sure they are clean before you use them. I find that the fabric is also easier to work with once clean, it is easier to turn limbs and create neat corners. Make sure the fabric is ironed before pattern pieces are cut out. (Funnily this is the only ironing I enjoy!) 

  • Ensure your supplies are in good working order- good sharp fabric scissors, small embroidery scissors for making small cuts, rotary cutter, fabric markers, pinking shears for internal seams. Unfortunately the quick un-pick gets a work out some days in my craft room, and I've learnt to simply scrap a softie if I can't fix a sewing mistake. Have a good selection of needles for your hand sewing appropriate for embroidery and other hand stitching.
  • Don't use other designer's patterns as your own. Make sure that they allow commercial production of their patterns, or a licence that once paid allows you to sell your wares. If you do use a pattern, always credit the designer on tags. Despite there being a multitude of free patterns online, not all allow for commercial production so make sure you research this before making for sale.
  • I admit to being a felt snob and will only use a good quality wool blend or 100% wool felt. I find that they don't pill or show signs of wear like the acrylic stuff does, which can also stretch and tear.
  • Double (or even triple) stitch the internal seams, especially if your softie is destined for some little hands. That extra reinforcement should prolong the life of the softie and ensure that the seams are nice and strong for when you do the stuffing. Use polyester thread as it is stronger than cotton thread too.
  • Stuff carefully and firmly. The stuffing process is actually quite time consuming. Small limbs and those funny little corners are best stuffed with many small pieces of stuffing than big chunks so that edges and seams can be filled properly and neatly. I tend to stuff my softies, leave them for a day or two to allow the stuffing to 'settle' before stuffing it some more and sewing it shut. I use a good quality polyfill although there are eco friendly and wool options which are more expensive. 
  • When playing around with a design of your own, use some calico or other cheap fabrics (and acrylic felt) until you get the design just right. Happy softie making!

Monday, September 24, 2012

LCF does the Perth Upmarket

Awesome! That was my day in one simple word. Being at the Perth Upmarket yesterday was certainly my best market experience to date.
I had been so good in my preparation leading up to the day, using every spare moment of my evenings and free time, completing items (not leaving the stuffing, or closing til later) and ticking things regularly off my 'to do' list. I had a few little jobs to finish on Saturday, printing and attaching tags, sewing on some fawn ears, finalising my table layout and then before I knew it, it was after midnight before I finally fell into bed. I suppose one late night before a market is a given.  
My day started at 5.30am, enough time to shower, dress, stitch shut one last softie and sort the girls out for a couple of hours with Grandma while Jon and I went to UWA. My stall was on the verandah which despite being a chilly spot (6 degrees!) initially, turned out to be perfect for enjoying the sunshine and a relaxed atmosphere to chat with shoppers. I received a lot of positive feedback from people on both my stall and creations. Everyone was friendly and a genuine lover of handmade so it was easy to be relaxed and chatty too.
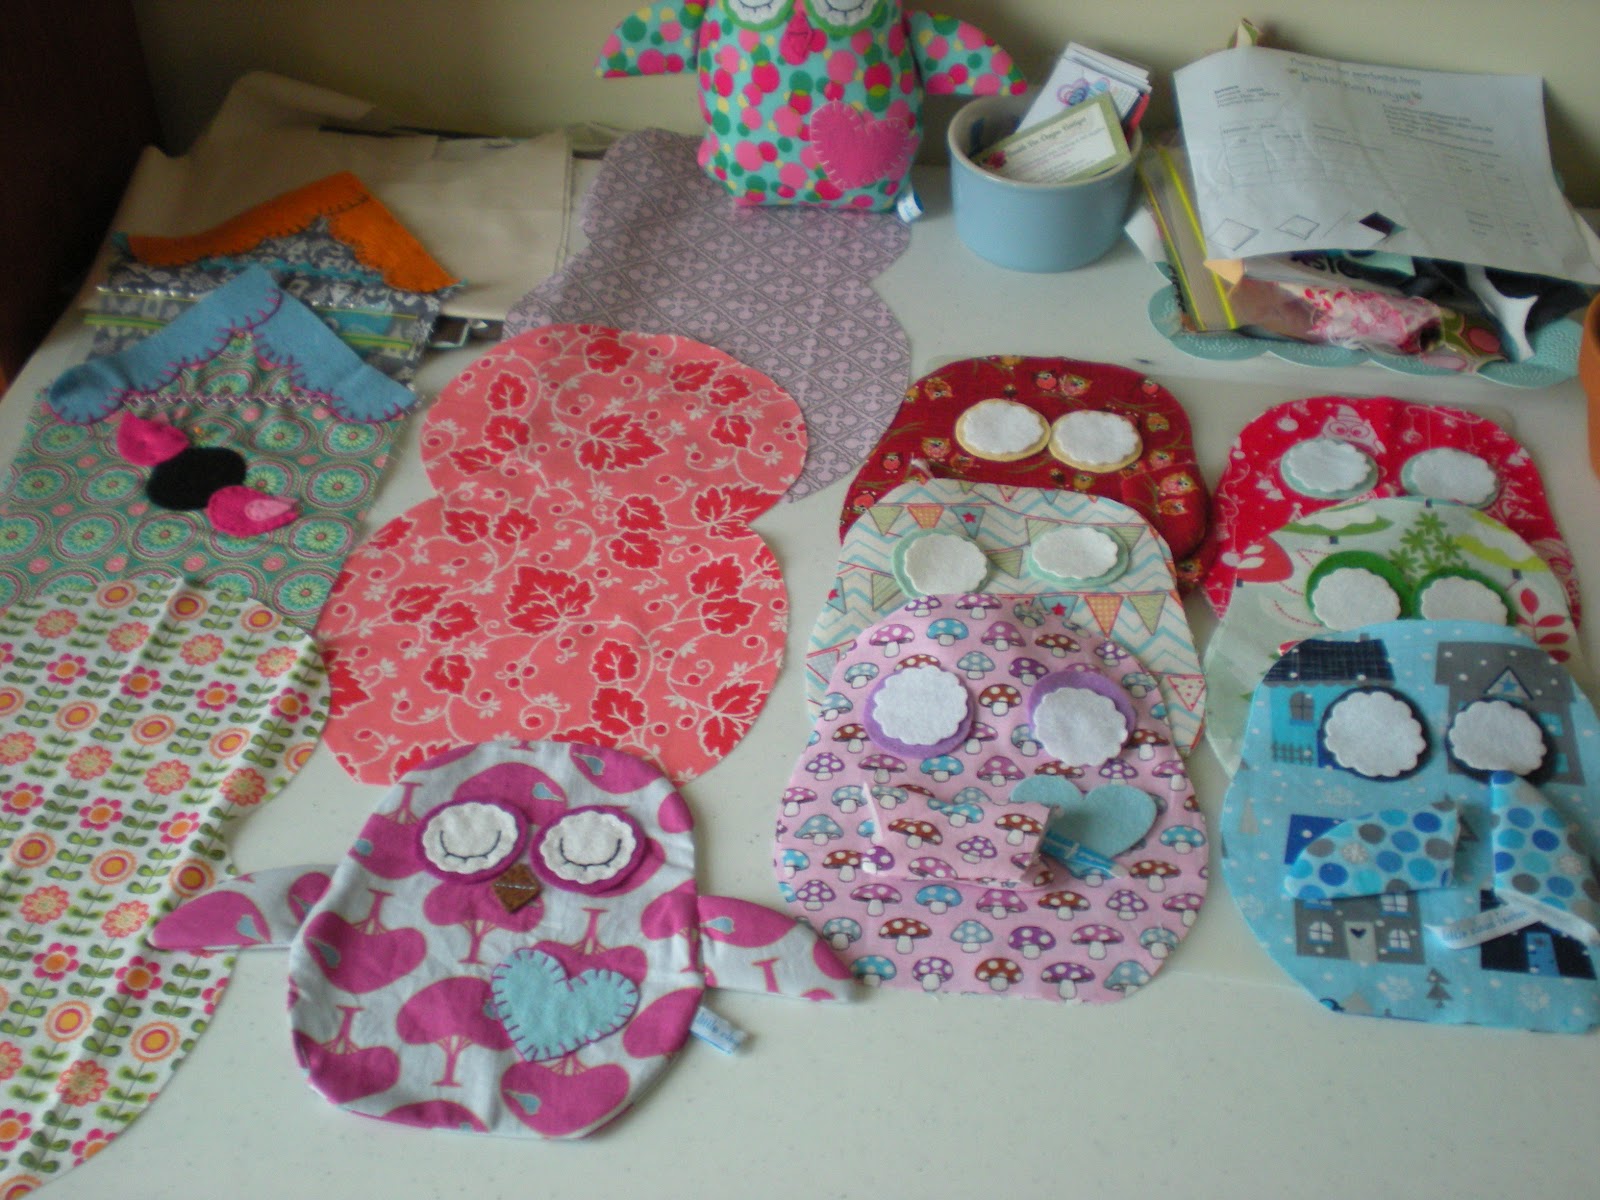
Here are some pics from the day


The 'fall out' of the market is, of course, a ridiculously messy craft room and an equally messy and neglected house which now need attention. I also have some orders to complete, some new design ideas floating around to make a reality and some more market experience under my belt. With another two applications pending for markets in November I'm hoping for a couple of sewing filled months.

Tuesday, September 18, 2012

Brushing up my sewing skills

I bought some gorgeous Japanese linen/cotton recently without any definite idea for it's use. I originally thought it would look great attached to a canvas and hung on a wall but yesterday I dusted off my Year 9 sewing skills and revisited the dreaded zip. I found this tutorial  on inserting invisible zippers which I had never done before. The finish is neat and professional and I am in love with the finished cover. I now have another 3 panels cut out and ready for their zips and while I was planning to take them to market with me, I think I'll be keeping one for myself.

Monday, September 17, 2012

Still Getting Ready

Over the last few days I've continued to prepare for my stall at this Sunday's Perth Upmarket. Some of the prep has been cutting, stitching and stuffing while the other prep is stall design and business related items. I have made a few more items than previous markets which means a re-jig of my previous layout. My talented grand father kindly made a post structure which allows me to hang a banner and some small items. It looks great and helps to define my stall space, I can't wait to see it all in action!

I ordered and received some gorgeous new swing tags (from oh so cute) and am waiting on some new business cards (from Smarties) This is probably the first time I've not felt anxious or rushed about an upcoming market. Unfortunately I've often left things to the last minute previously but doing something every day for this market has certainly taken the pressure off and I won't be doing any late nights this week. Thankfully these last few days will be spent closing softies, making a few hair clips and deciding on the stall design.

Monday, September 3, 2012

Progress Report (& some tutorials)


Over the last few days my enormous pile of fat quarters has turned into organised pattern pieces. I feel pretty ok about my progress this last week in preparation for the upcoming market. With only three weeks to go I will need to work each night and squeeze in some sewing during nap times to complete what I set out to make. Hopefully I won't have to resort to late nights this time too.


Also on the agenda this week is seeing a performance of Play School tomorrow at the Fremantle Town Hall which Michaela is looking forward to very much. After receiving the latest IKEA catalogue last week I'm planning a quick trip there which will inevitably end up being a much more expensive trip than first planned. And time permitting I have a couple of tutorials ear marked- this one is an adorable way to re-use baby's shoes and this one about printing on fabric could have many uses.